Greetings and welcome to our Blanco Resume & Portfolio WordPress Theme. I'm CreaboxThemes and I'd like to thank you for purchasing one of my products, your support is much appreciated.
Please drop me a line and let me know what you think about this template, if you have any suggestions for improvements or extra features, or if there's something you don't like.
I count on your help to constantly improve the quality of my products and bring more value to you, and all my other customers
With ThemeForest regular license you are licensed to use this theme to create one single End Product (the final website customized with your content) for yourself or for one client.
What is allowed with the single regular license:
What is not allowed:
For more information regarding license regulations and policies, see the links below:
IMPORTANT! We do not include theme-related .PSD files into the theme package, because it significantly increases the theme archive size. You will get all images and clip arts while importing demo.
The theme package contains a number of bundled plug-ins. Please click here to view the list of plug-ins that come included into the theme.
If a new version of a bundled plug-in is available, it will be included in the next theme's release. You can also request it by submitting a support ticket.
Bundled plug-ins are fully functional without the activation using a registration license key. In case you are willing to receive automatic updates and support from the plug-in team, you will need to purchase the plug-in separately. Only the direct buyers get the plug-in license key.
To install this theme you must have a working version of WordPress already installed. Below are some useful links regarding WordPress information.
To use this theme you must be running at least WordPress 4.9, PHP 5.6, mysql 5 or higher. If you use a hosting service with limited resources (e.g. GoDaddy!), you may experience issues with the "one-click" demo data installation.
If you are running unmanaged dedicated server or VPS, you should check your php.ini file. Alternatively, you can edit .htaccess file in the root of your website and add the following values:
php_value max_execution_time 600php_value memory_limit 128Mphp_value post_max_size 32Mphp_value upload_max_filesize 32MAfter downloading the theme package, un-zip it. Inside the package you will find the following folders:
There are two options to install the theme, via FTP or via WordPress admin panel uploading the file "blanco.zip". Following are explained both options:
blanco.zip file and ONLY use the extracted /blanco theme folder.blanco theme folder into /wp-content/themes.PLEASE NOTE! Ensure you are uploading the un-zipped theme folder, not the entire package downloaded.
blanco.zip folder and click Install Now button.If you have installed and activated the theme, so install and activate the plugins necessary, and then go to the page Appearance > Import Demo Data.
There, use the option "Import Demo Data" and wait several minutes since the content has been imported. Once, the process is finished, all the demo will have been imported.
Blanco brings several options to customize the desing. All of theme are in the page
In this panel, there are the next options to set up:
There are two kind of color scheme, light and dark. In this panel, it can be set up the main color, secondary color, background color and accent color, for each one.
Here it is possible to choose the fonts for the main content and headings.
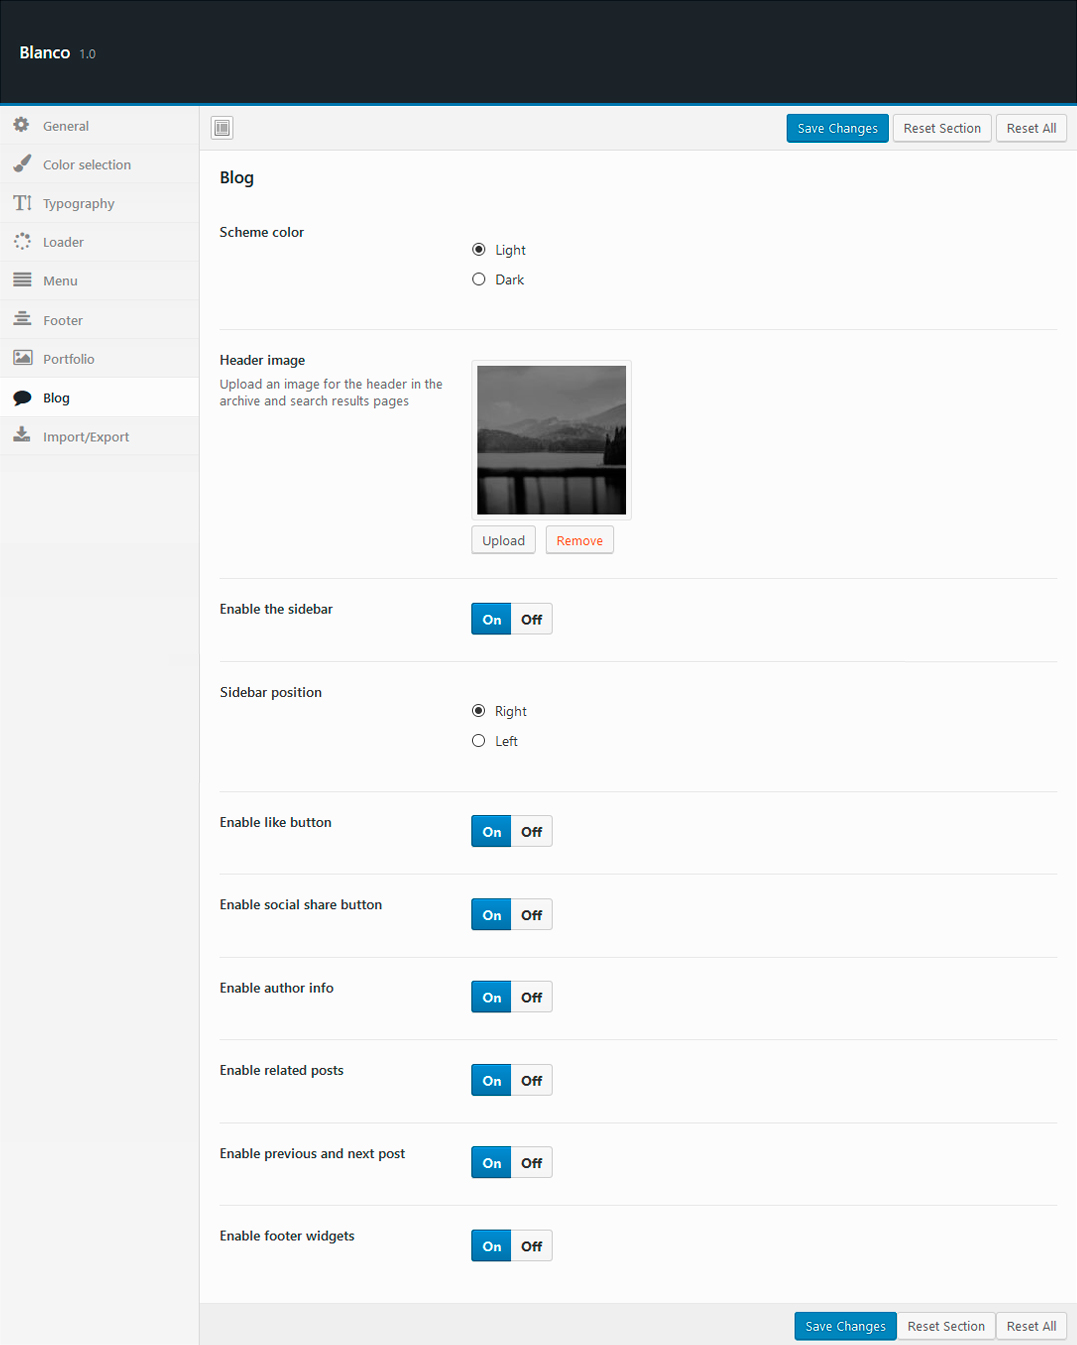
In this panel, there are the next options to set up:
The options to set up are the next:
It is possible to configure the next options:
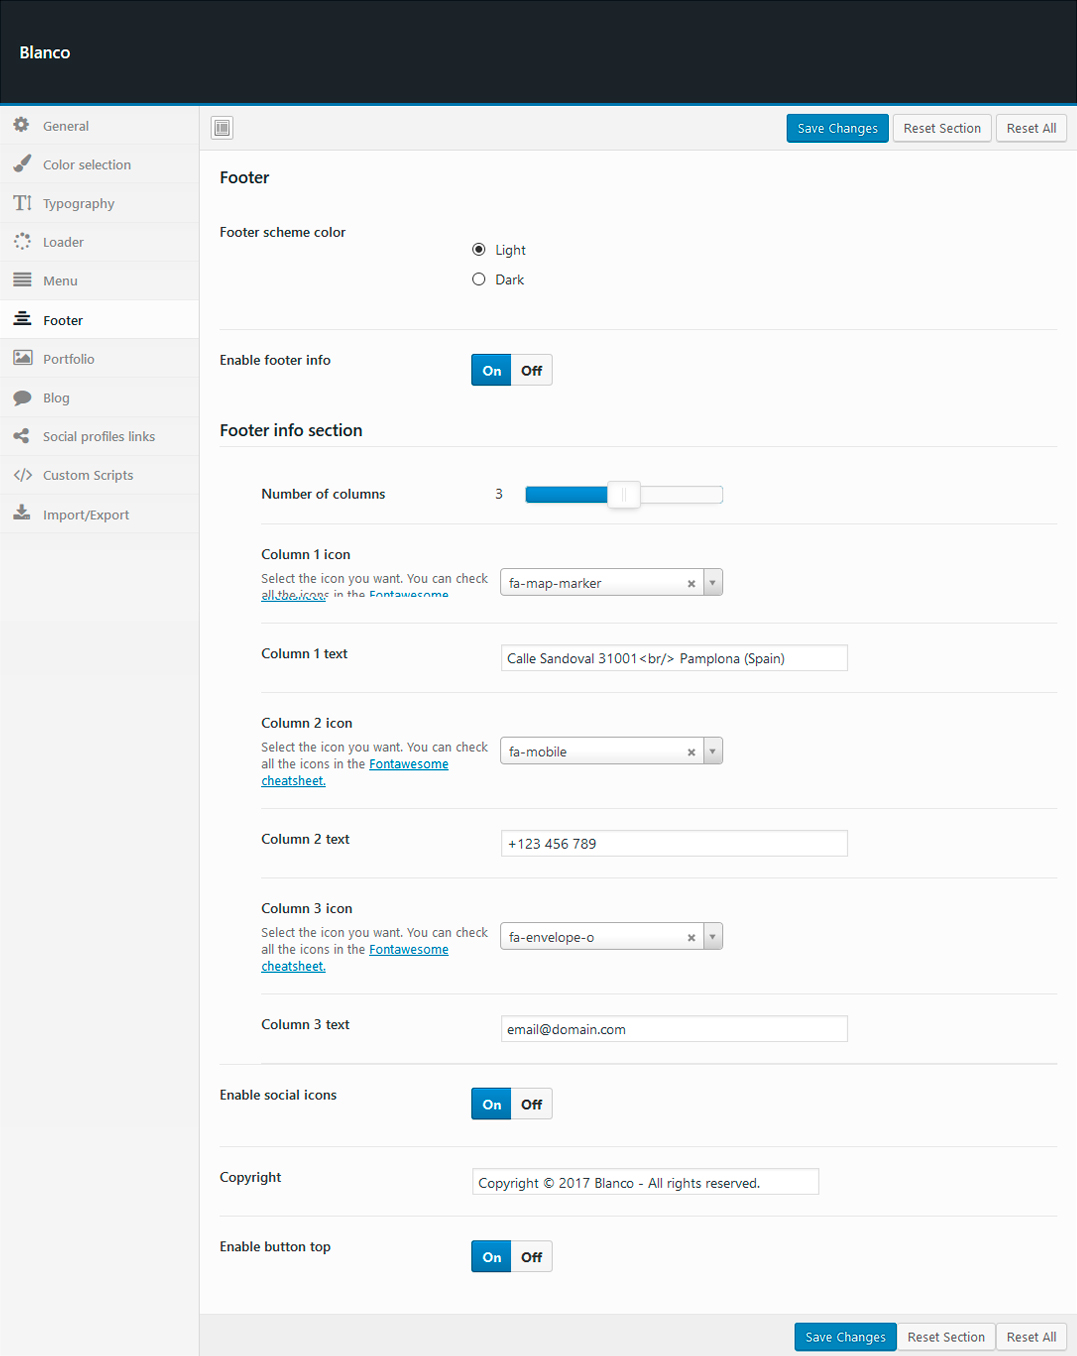
In this panel, there are the next options to set up:
The options to set up are the next:
Options to import and export the theme settings and restore the default.
Blanco brings the options to create its own sliders for the pages, portfolio items and a new page where type the social links.
There is the option to create slides and add them to the pages. For that, there is a menu option called CB Slider where creating the slides.
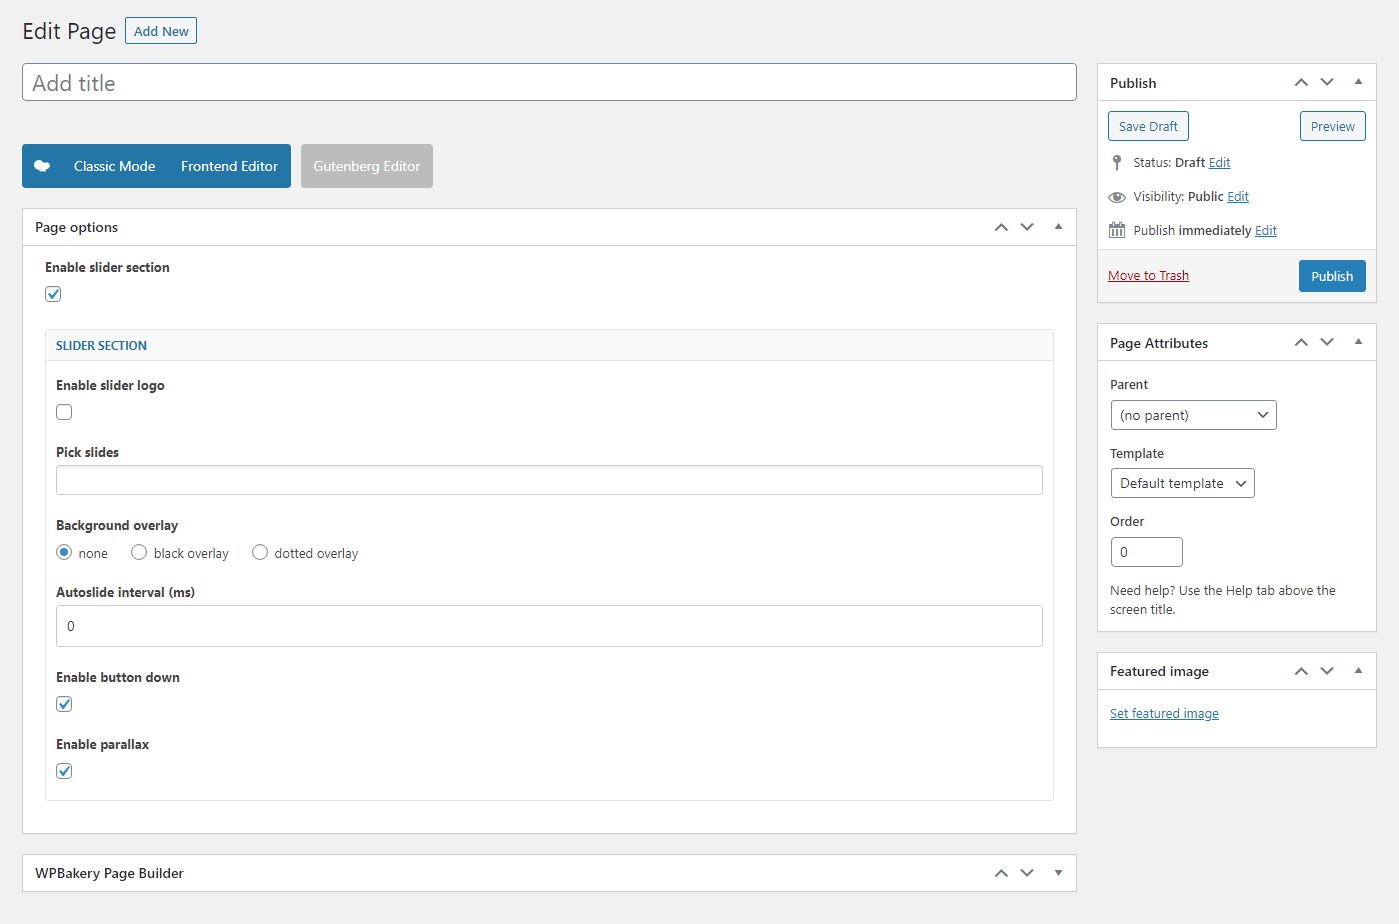
When you add a new slider, there are the next options:
<br>, that is used to add a line break.To add the slides into a page, it is the panel Page options when you are creating a page. In this panel, there are the next options:
The theme Blanco has a new page to add social share links. The page is accessible through the menu CB Social Icons.
The icons will only be displayed if their field is not empty.
Blanco works perfectly with the plugin "Vafpress Portfolio". This plugin, allow add portfolio items and its categories.
There is the possibility to custom the items with "WPBakery Page Builder". In this case, it has to be checked the first option "Enable Custom Layout" in the panel options, and make sure it has already checked "portfolio" post type in WPBakery Page Builder > Role Manager.
But if it is not used the "WPBakery Page Builder" editor, the default template has the options explained following.
From this panel located at the bottom, there are the next options:
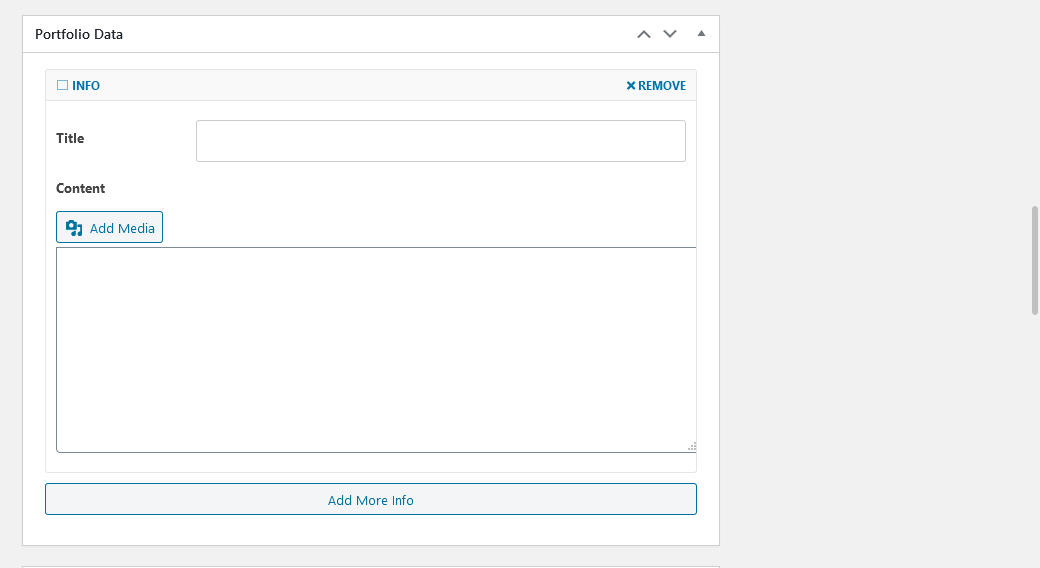
This panel is used to add the information of the portfolio item. It is possible to add the title and content of each information.
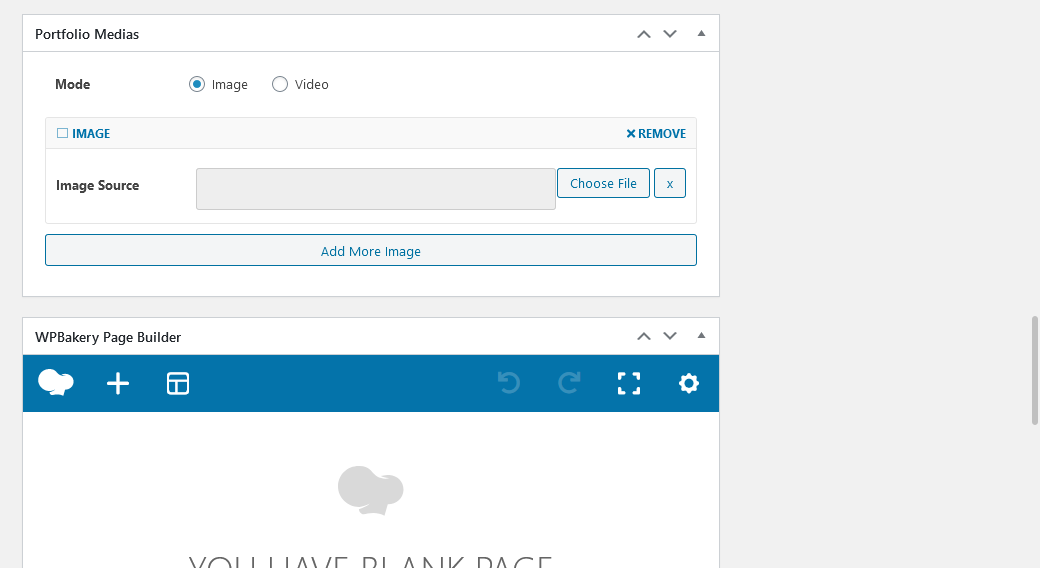
In this panel there is the option to add all the images you want or a video.
The featured image option is only used as image fo an item in the "Blog grid" element of "WPBakery Page Builder".
Blanco works perfectly with the incredible plugin WPBakery Page Builder. There are several custom elements with a lot of options:
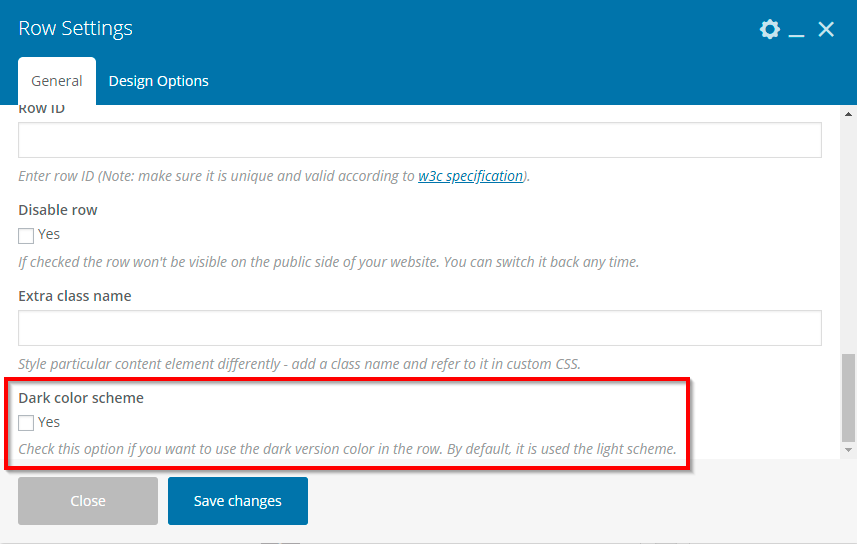
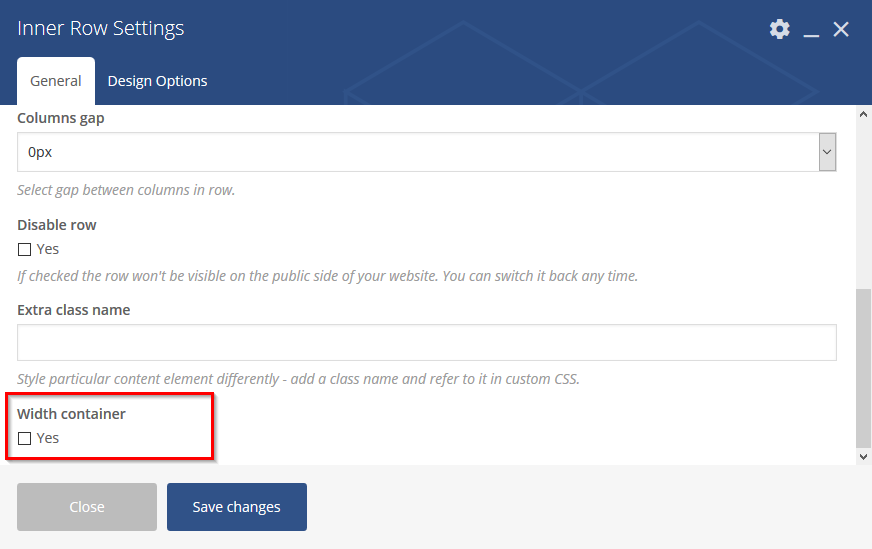
It has been included a new feature in the row default options, the color scheme. It be able to choose among light or dark. When you include a row inside other row, there is a new option 'Width container', to give to the row inner a width boxed.
This custom element is used to show user information. Create all the labels you want and type its content, and select the css animation and add an extra class.
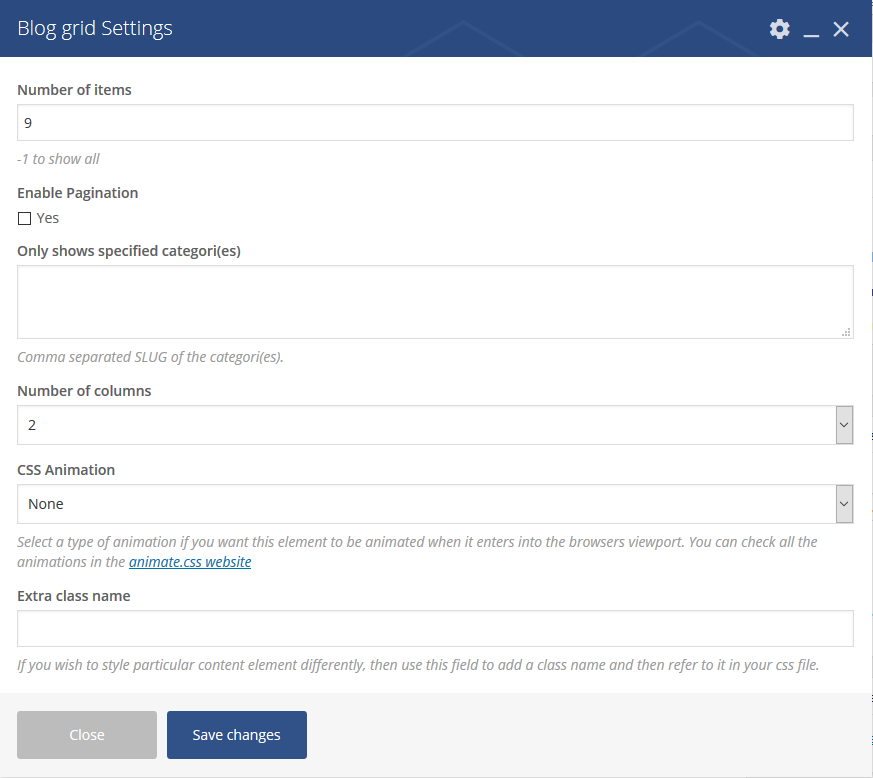
It used to show the last blog posts into a grid. The options are:
This element displays an accordion element when it is possible to add the experience. The options are the next:
This custom map has the next options.
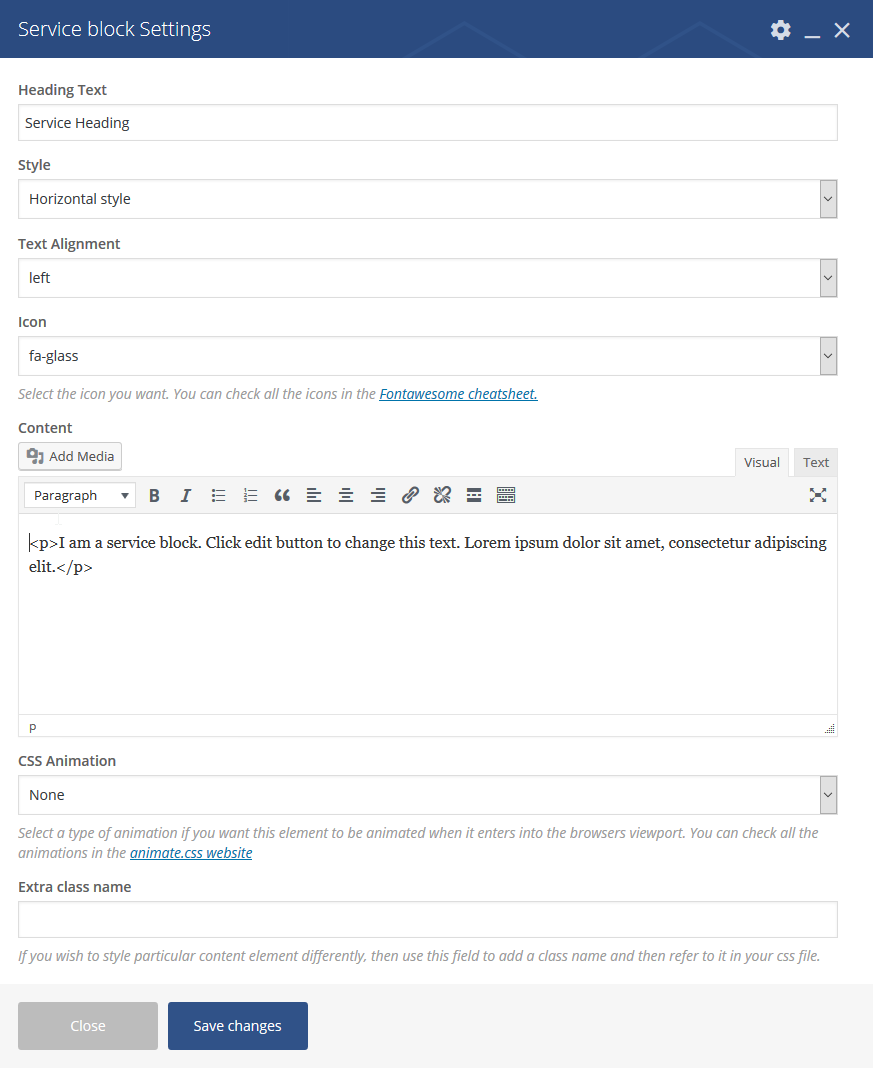
The options of this element are the next:
Add the info of a member of your team. The options are the next:
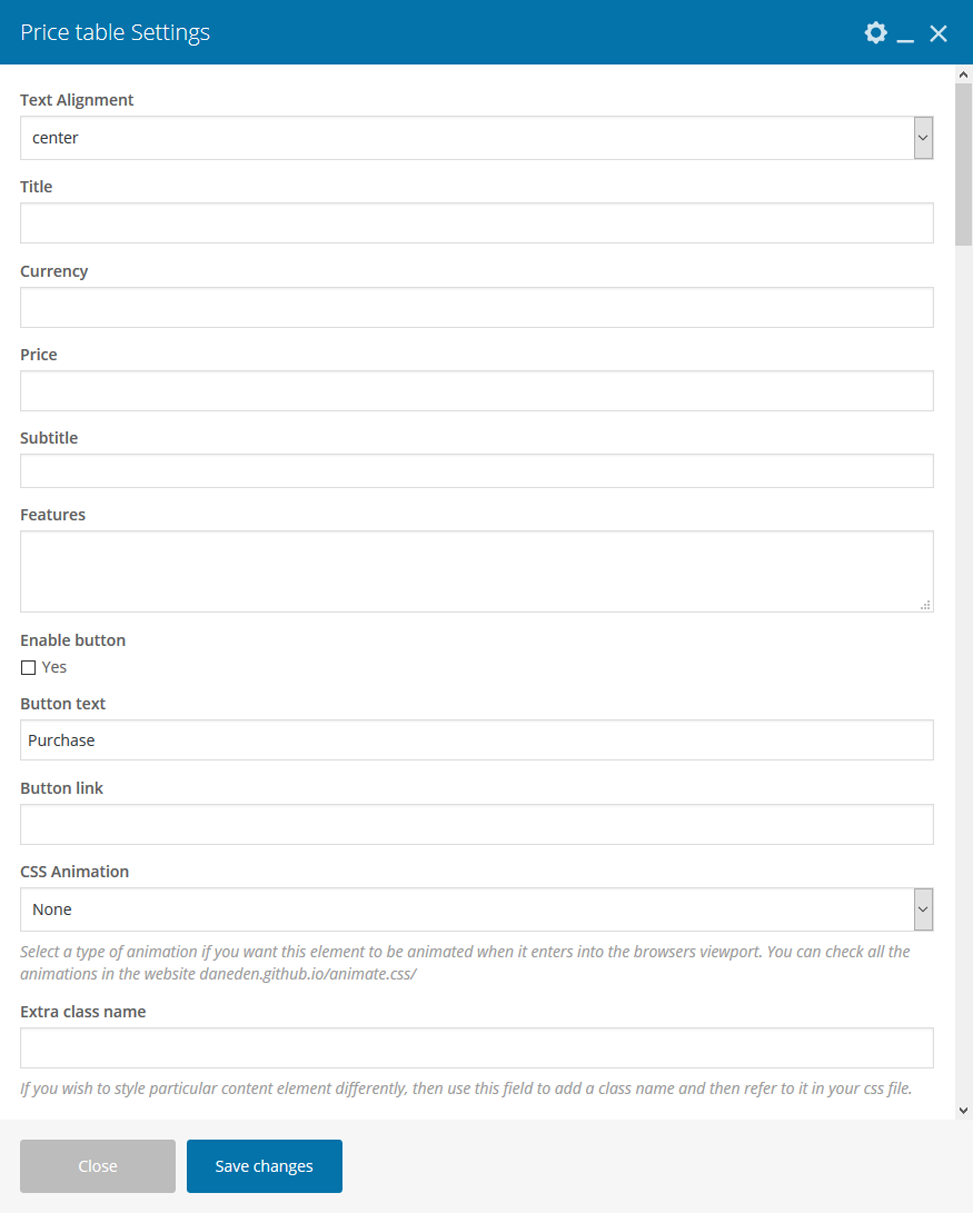
Show the prices and features of your plans with the next options:
It is used to show the last portfolio items into a grid. The options are:
Use this option to show a count. The options are the next:
It is possible to add a progress bar element. The options are the next:
This element allows to display different testimonials. It is possible add the text and its author. The options of the carrousel are the next:
The options of this element are the next:
With this element, it is possible to show the last tweets of your account. It is necessary to add a shortcode of the plugin 'Rotating Tweets'. It has the options of choose the animation css and add an extra class.
Blanco brings some custom widgets. They are explained next.
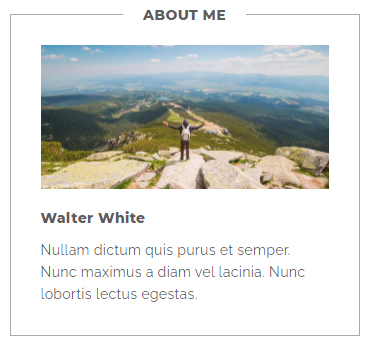
Widget to show information and talk about you. It can be upload an image, type the name and a description.
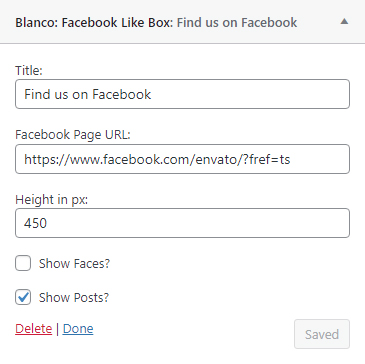
Widget to show a Facebook like box of the account you want. There are several options.
Widget to create a list of elements with icon and text each one. There are the option to add a title and the content. For the content, the list has to be created in the next way: each element separates with a line break and the icon has to be typed with the code and prefix die from the FontAwesome page.
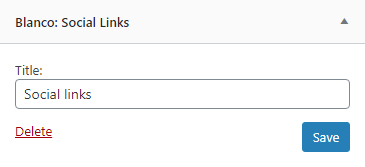
Widget to show the social icon links set up in the plugin CB Social Icons.
This theme needs some plugins to work perfectly. Between all of them, the most important without including WPBakery Page Builder are the next.
Blanco works perfectly with the great plugin "Contact Form 7". This plugin allows to create a contact form.
If you have imported the demo site, you will see two contact form created, a form called 'Contact form' to include it in a page, and other form called 'Contact form widget' to include it in the blog sidebar.
Following it can check the code of the first form:
                    <div class="col-md-6">

                    [text* Name placeholder="NAME"]

                    </div>


                    <div class="col-md-6">

                    [email* Email placeholder="EMAIL"]

                    </div>


                    <div class="col-md-12">

                    [textarea Message 3x4 placeholder="MESSAGE"]

                    </div>


                    <div class="col-md-12 elements-center">

                    [submit "Send"]

                    </div>
                    [text* Name placeholder="NAME"]

                    [email* Email placeholder="EMAIL"]

                    [textarea Message 3x4 placeholder="MESSAGE"]

                    [submit "SEND"]
Once again, thank you so much for purchasing this theme. As I said at the beginning, I'd be glad to help you if you have any questions relating to this theme. Please contact me via my author contact form. I'll do my best to assist you!
IMPORTANT! Please, if you like the theme I'll be very grateful if you could rate it.